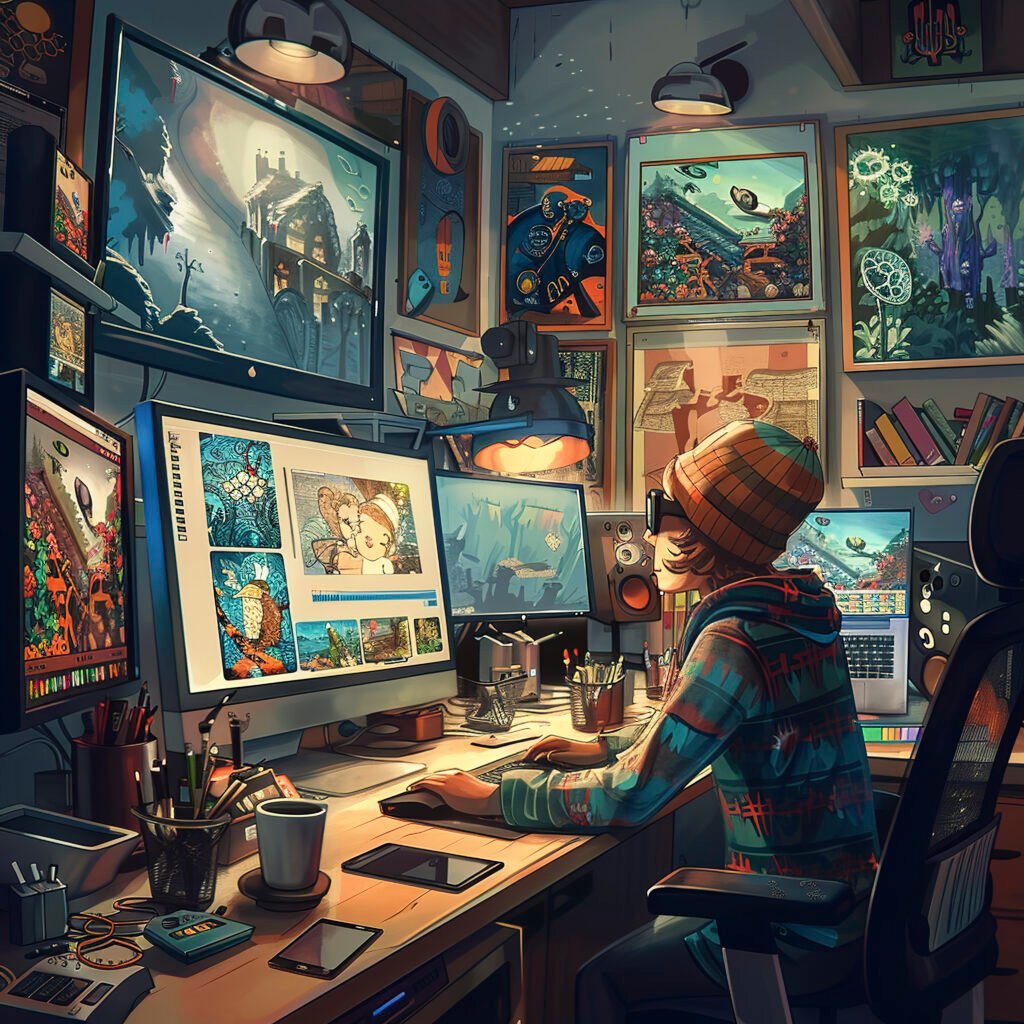
In the world of art, the creative process is as important as the final piece. For digital artists, this journey from concept to completion is a unique blend of imagination, technique, and technology. While traditional art forms like painting or sculpture rely on physical tools and materials, digital art unfolds on a screen, where pixels become the building blocks of creativity. Yet, despite the differences in medium, the essence of the artistic process remains the same—a journey of exploration, refinement, and expression. This article will take you through the steps involved in creating a digital artwork, from the initial idea to the polished final piece, offering insights and tips for both beginners and experienced artists.
Step 1: Ideation and Concept Development
Every artwork begins with an idea. This initial spark can come from anywhere—a memory, a dream, a piece of music, or even a fleeting emotion. For digital artists, the concept stage is where these ideas start to take shape.
Inspiration: Gathering inspiration is the first step in developing a concept. Artists often create mood boards or sketchbooks filled with images, colors, and textures that resonate with the theme they wish to explore. Websites like Pinterest, Behance, or even a simple Google search can provide a wealth of visual stimuli to kickstart the creative process.
Sketching: Once an idea begins to form, it’s time to put pencil to paper—or stylus to tablet. Sketching allows artists to explore different compositions, layouts, and perspectives. In this stage, it’s important to experiment freely without worrying about perfection. Quick, rough sketches help flesh out ideas and provide a visual foundation for the final piece.
Concept Refinement: After the initial sketches, artists refine their concept by choosing the strongest ideas and developing them further. This might involve combining elements from different sketches, adjusting compositions, or experimenting with color schemes. The goal is to create a clear vision of the final artwork, complete with all the key elements that will bring the concept to life.

Step 2: Digital Tools and Software
With a solid concept in hand, the next step is choosing the right tools to bring it to life. Digital artists have a wide array of software and tools at their disposal, each offering unique features and capabilities.
Software Selection: The choice of software largely depends on the artist’s style and the requirements of the project. Popular digital art programs include Adobe Photoshop, Adobe Illustrator, Corel Painter, Procreate, and Clip Studio Paint. Each of these programs offers different advantages—Photoshop for its versatility and powerful editing tools, Illustrator for vector-based artwork, Procreate for its intuitive interface, and so on.
Hardware Considerations: In addition to software, the hardware used by digital artists is crucial. A high-quality graphics tablet, such as a Wacom, or an iPad with an Apple Pencil, allows for precise control and a natural drawing experience. A powerful computer with a good monitor ensures that the artwork’s colors and details are accurately represented.
Brushes and Tools: Digital art software often comes with a variety of brushes and tools that mimic traditional media, such as oils, watercolors, and charcoal. Artists can also create or download custom brushes to achieve specific effects, adding texture, depth, and nuance to their work.

Step 3: Creating the Artwork
With the concept refined and tools selected, the artist begins the process of bringing the artwork to life on the digital canvas.
Blocking in Colors and Shapes: The first step in the actual creation process is blocking in the basic colors and shapes of the composition. This involves laying down large areas of color and rough shapes to establish the overall structure of the artwork. At this stage, details are kept to a minimum, focusing instead on the composition, color harmony, and balance.
Building Layers: One of the key advantages of digital art is the ability to work with layers. Layers allow artists to separate different elements of their artwork—such as background, foreground, and details—making it easier to edit and refine individual components without affecting the whole piece. Artists typically start with background layers and gradually build up to the more detailed layers on top.
Adding Details and Texture: Once the basic composition is in place, the artist begins adding details and texture. This stage requires patience and precision, as it involves refining the shapes, adding highlights and shadows, and incorporating textures that give the artwork depth and realism. The use of different brushes and blending modes can create a variety of effects, from soft gradients to sharp, textured surfaces.
Color Correction and Adjustment: After the main elements of the artwork are completed, the artist may need to adjust the colors to ensure harmony and balance. This can involve tweaking the hue, saturation, and brightness, or applying color grading to achieve a specific mood or atmosphere. Digital art software often includes powerful color correction tools that allow for precise adjustments.
Step 4: Final Touches and Polishing
The final stage of the digital art process involves refining the artwork to its highest level of polish. This is where the artist fine-tunes every detail, ensuring the piece is cohesive, balanced, and visually compelling.
Refining Edges and Details: Artists go over the artwork one last time to refine any rough edges, smooth out transitions, and enhance details. This might include cleaning up lines, sharpening focal points, and adding small touches that make the artwork more dynamic and engaging.
Adding Effects: Digital art allows for the addition of special effects that can elevate the artwork to a new level. This might include adding lighting effects, lens flares, or atmospheric elements like fog or dust. These effects can help create a sense of depth and dimension, drawing the viewer’s eye to key areas of the composition.
Review and Feedback: Before finalizing the piece, many artists step back and review their work with fresh eyes. Some seek feedback from peers or online communities to gain different perspectives and insights. This stage is crucial for identifying any areas that might need improvement or adjustment.
Saving and Exporting: The final step is saving and exporting the artwork in the appropriate format. Depending on the intended use—whether for print, web, or display—artists may need to adjust the resolution, file type, and color profile. High-resolution formats like TIFF or PNG are often used for printing, while JPEG or web-optimized PNG files are preferred for online use.

The journey of creating a digital artwork is a blend of inspiration, skill, and technology. From the initial concept to the final polish, every stage of the process requires careful thought and creativity. While digital tools offer unparalleled flexibility and possibilities, the essence of art remains rooted in the artist’s vision and expression. Whether you’re a seasoned digital artist or just starting out, understanding and embracing this process will help you bring your creative ideas to life in the digital realm.

